Installing FreeNAS in VirtualBox on OpenSuSE
This post is part of a series that will deal with setting up a MySQL shared storage cluster using VirtualBox & FreeNAS. In this post we deal with the installation of VirtualBox & FreeNAS.
Firstly we need to install VirtualBox and the VirtualBox-Qt front-end.
sudo zypper install virtualbox
sudo zypper install virtualbox-qt
Add your user to the vboxusers group;
sudo /usr/sbin/usermod -a -G vboxusers rhys
Download the latest release of FreeNAS.
wget http://download.freenas.org/9.2.1/RELEASE/x64/FreeNAS-9.2.1-RELEASE-x64.iso
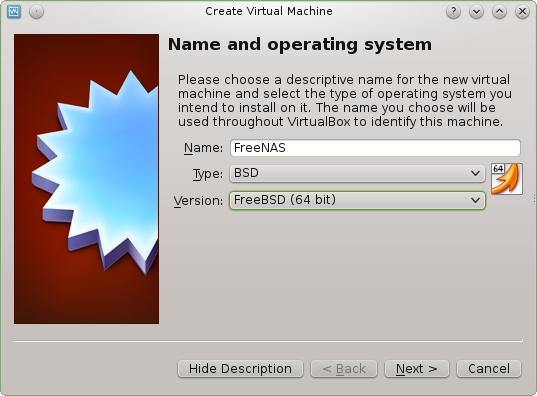
Once everything is installed correctly fire up VirtualBox. Click Machine > New enter “FreeNAS” as the name, change the type to “BSD” and Version to “FreeBSD (64 bit)”.
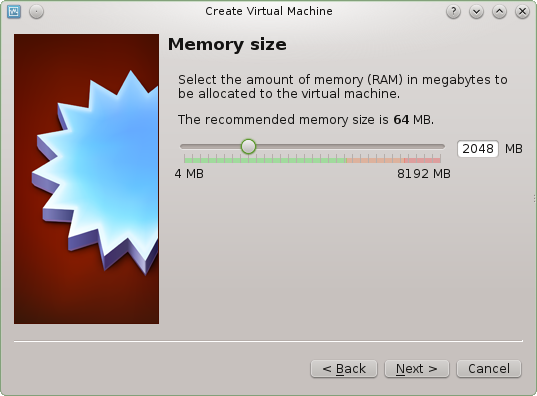
Next set an appropriate amount of memory. Allow a minimum of 2048MB.
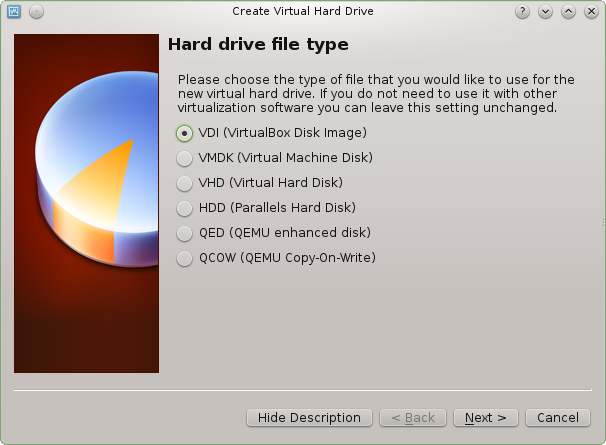
One the Hard drive screen choose “Create a virtual hard drive now” and click create. Set the Hard drive file type to VDI.
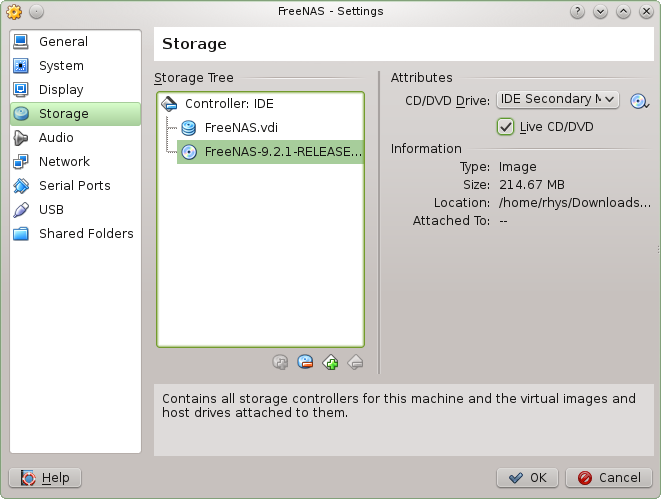
Set the storage of the hard drive to “Dynamically allocated”, the Next and finally create. Your VM will now be created. Next we will mount the FreeNAS ISO onto the Virtual MAchine. In the left-hand panel, select the FreeNAS VM, and click “Settings” and select the “Storage” icon.
Click the CD icon that syas “Empty” next to it. Click the CD icon (with the down arrow) on the far right-hand side. Select “Choose a Virtual CD/DVD disk file…” and browse to the FreeNAS iso file you downloaded earlier.
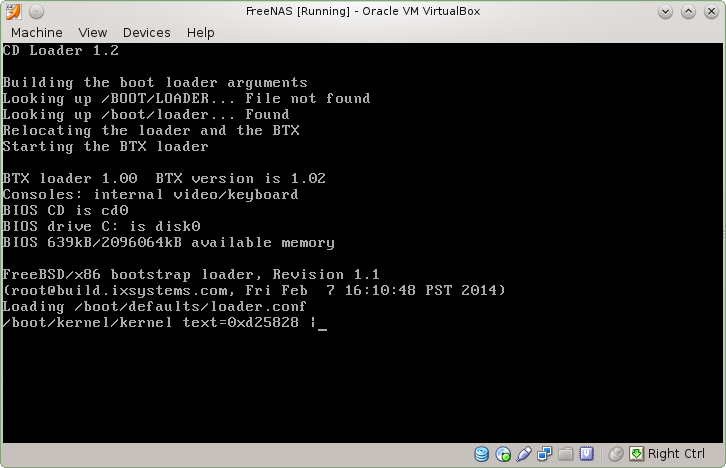
Click ‘OK’ and then fire up the VM. FreeNAS will boot…
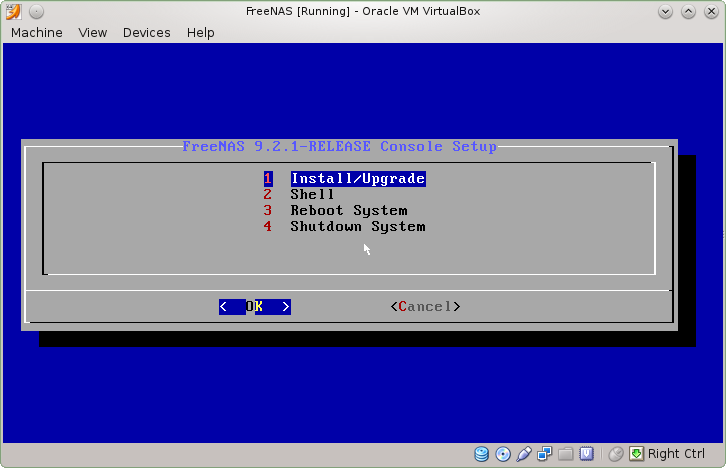
After a short while a menu for the FreeNAS installation will appear. Select option 1 then ‘OK’.
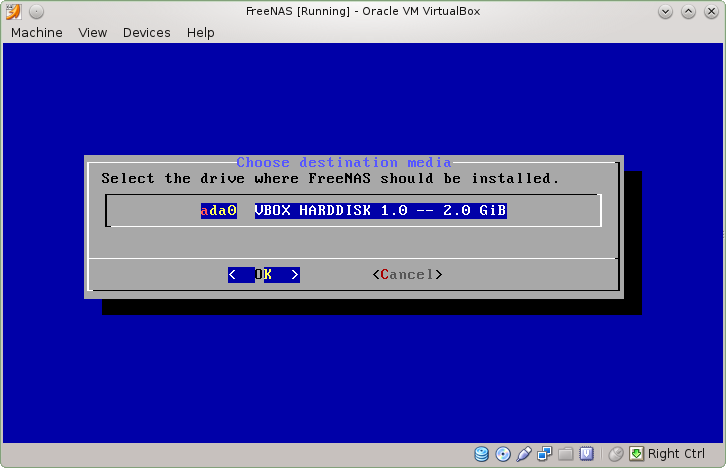
FreeNAS will ask where to install itself. Just click ok as we’ve only added a single drive to this VM.
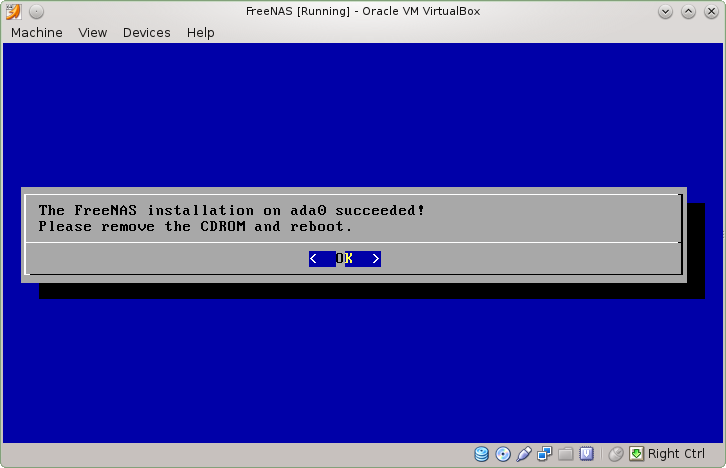
FreeNAS will display a message when the installation has completed successfully.
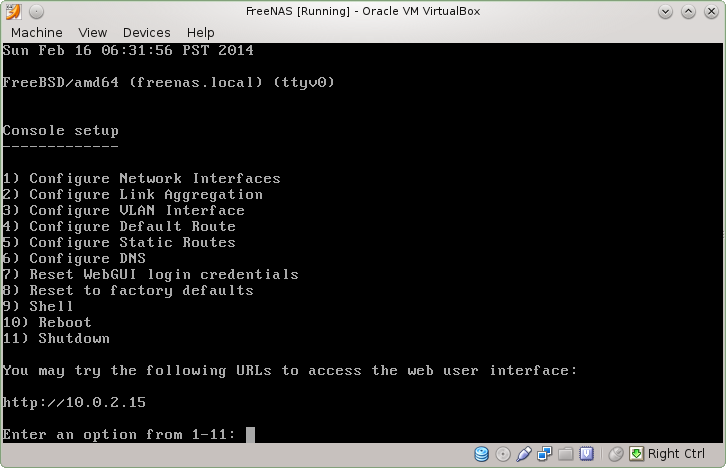
Click Devices > CD/DVD Devices > Remove Disk from virtual drive. Choose ‘OK’ to reboot. FreeNAS will reboot and you will be presented with a configuration option menu.
Stay tuned for the next in the series of these posts.
