FreeNAS Configuration
This post is part of a series that will deal with setting up a MySQL shared storage cluster using VirtualBox & FreeNAS. This post deals with the configuration of FreeNAS.
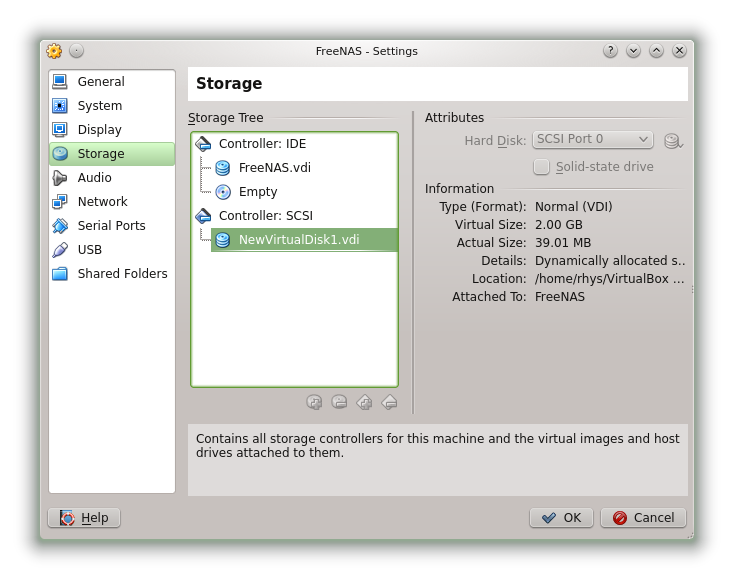
Fire up VirtualBox and go into FreeNAS > Settings > Storage. Add a SCSI controller with a 2GB disk.
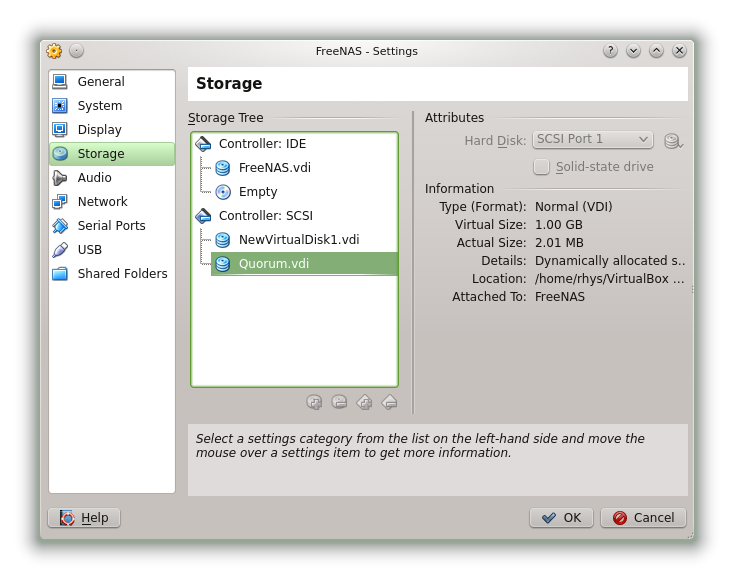
Added a second disk 1GB in size. This will become the cluster quorum drive.
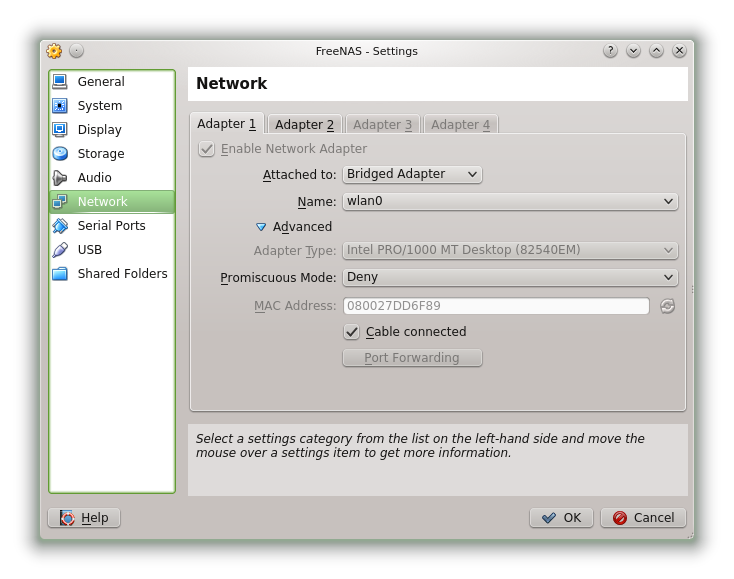
Go to the Network settings section and enable a second interface. You should have two enabled in total both attached to “Bridged Adapter”.
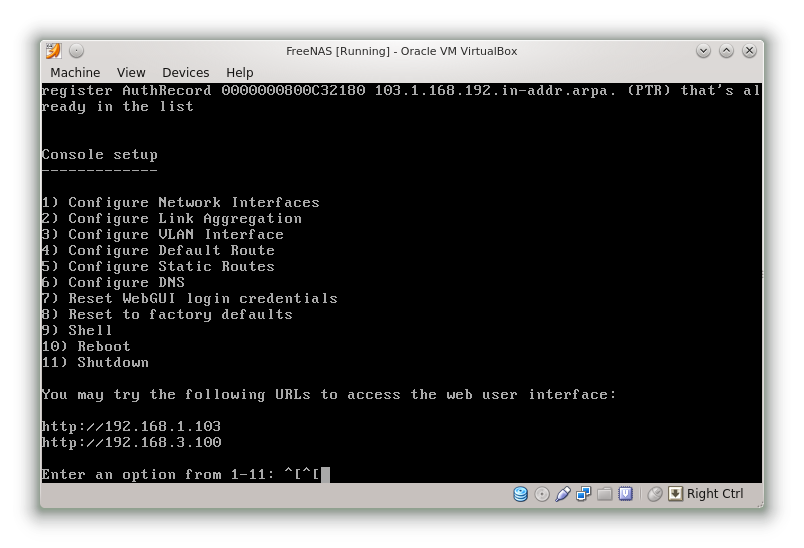
Boot the FreeNAS VM and login when prompted. You should see a screen similar to below.
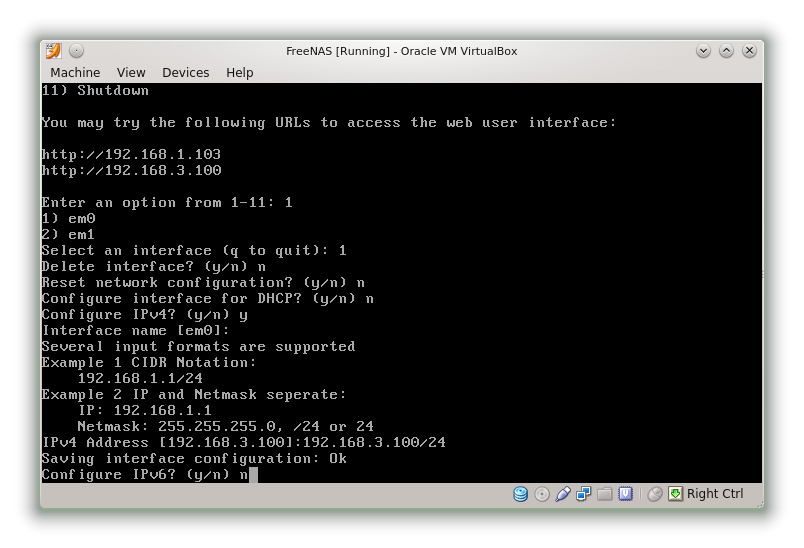
Enter ‘1’ to begin the network interface configuration. You should have two interface called em0 and em1. Configure them with the following details.
em0
192.168.3.100/24
em1
192.168.1.103/24
An example configuration is shown below…
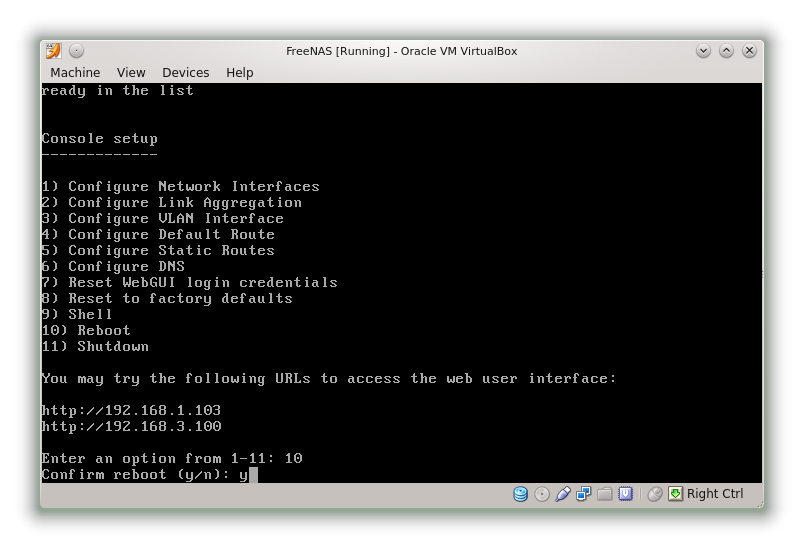
After the changes have been saved choose option 10 to reboot.
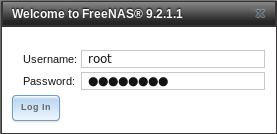
After the host has rebooted point your browser at http://192.168.1.103 and you should see the FreeNAS login screen.
Most of the SAN configuration we’ll perform in the web interface.
- First active iSCSI in Services > Control Services. First iSCSI in the list and change the slider to ON.
- Add an initator. iSCSI > Initiators > Add Initiator. Go with the defaults.
- Add a Portal. iSCSI > Portals > Add Portal. The IP Address should be 192.168.3.100 and the port 3260.
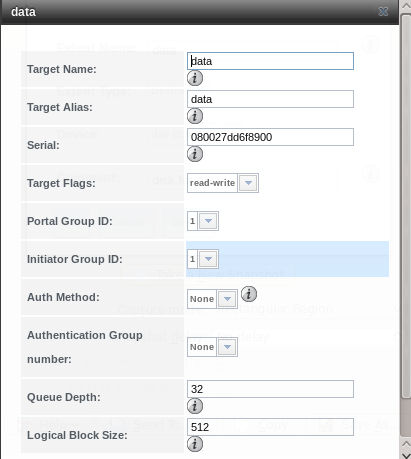
- Add target - set portal and initiator ids, auth method = None (CHAP recommend but not covered here).
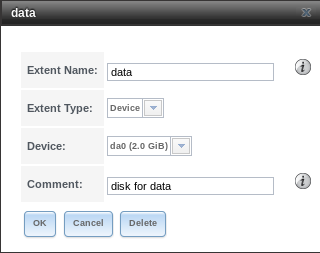
- Add an extent. iSCSI > Extents > Add Extent. Enter the following details
- Add a target. iSCSI > Targets > Add Target
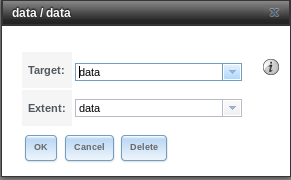
- Add Targets/Extents. iSCSI > Targets / Extents > Add Target / Extent.
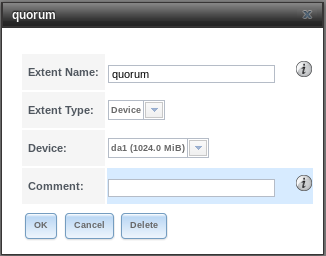
- Next we’ll setup the Quorum drive. iSCSI > Extents > Add Extent. Enter the following details.
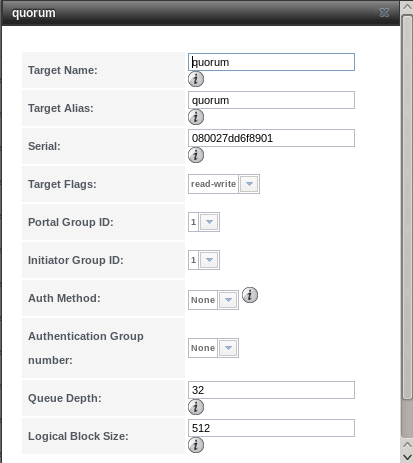
- iSCSI > Targets > Add Target.
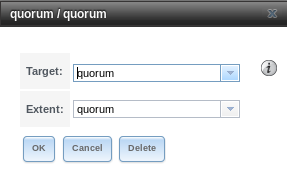
- iSCSI > Targets / Extents > Add Target / Extent.
