Creating & Installing the CentOS cluster nodes.
This post is part of a series that will deal with setting up a MySQL shared storage cluster using VirtualBox & FreeNAS. In this post we deal with the installation of CentOS in VirtualBox.
This post deals with the creation of two Linux servers hosted within VirtualBox. We will download an installer for CentOS, install it in one VM, finally we will use VirtualBox to clone the VM so the second node will be identical.
To get started download the CentOS network installer.
wget http://mirror.sov.uk.goscomb.net/centos/6.5/isos/x86_64/CentOS-6.5-x86_64-netinstall.iso
Once this is complete fire up VirtualBox. First create a new VM in VirtualBox by cliicking the ‘New’ button…
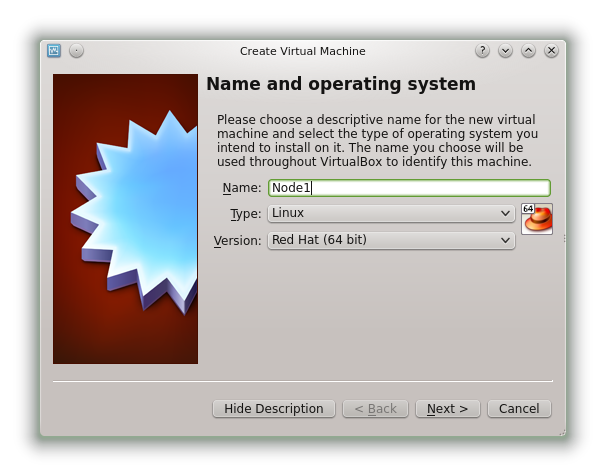
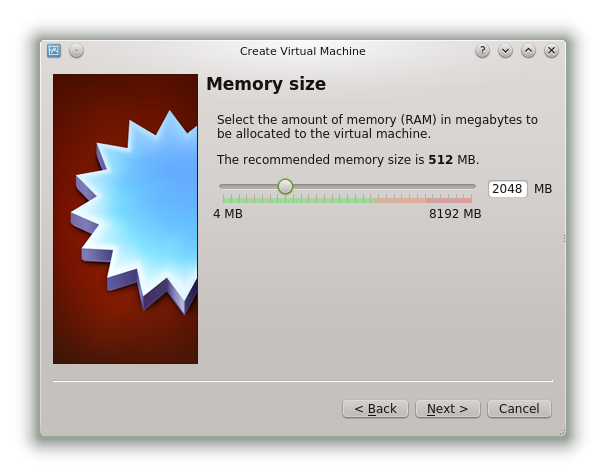
Add at least 2048MB of RAM to the VM.
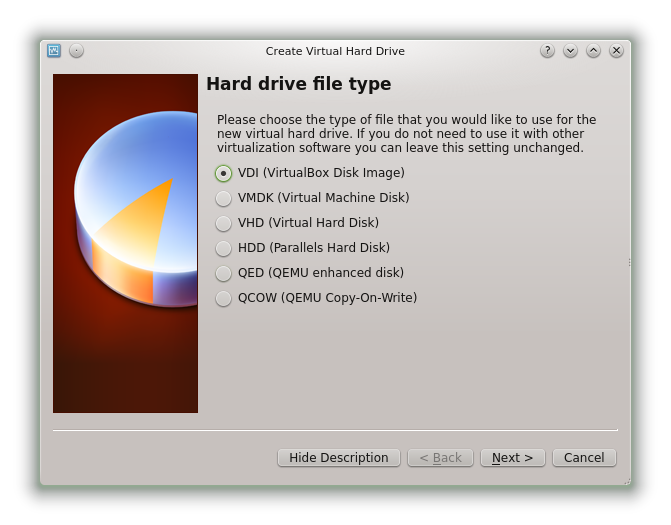
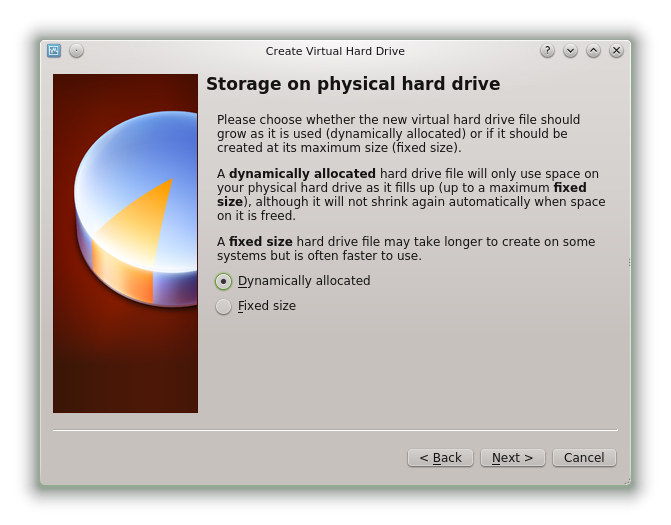
Create a hard drive. Default options should be fine (options shown below).
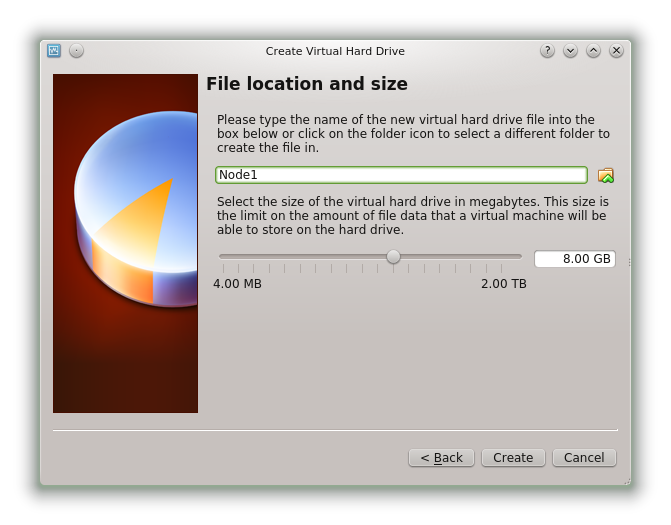
Set the file location and size. Again the defaults should be fine in most cases.
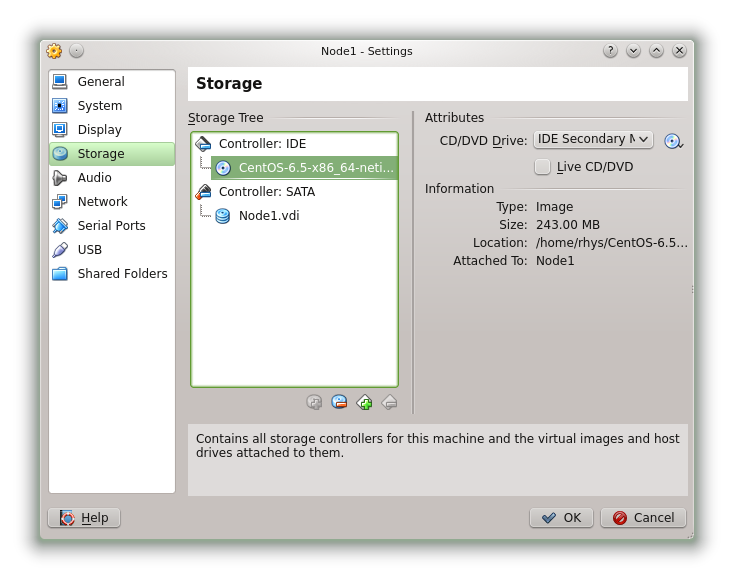
After your VM has been created cright lick “Node1”, choose “Settings” and select the “Storage” tab. Click the CD icon with the down arrow. Use the file chooser to navigate to the ISO file you downloaded earlier. The VM will boot off this image when it is started.
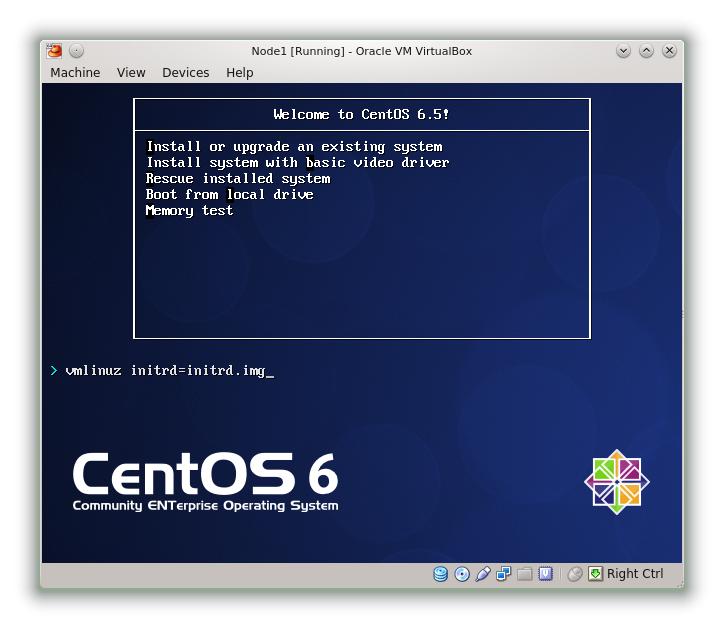
Start the VM and you’ll be presented with the following screen after a few moments. Choose “Install or upgrade an existing system”.
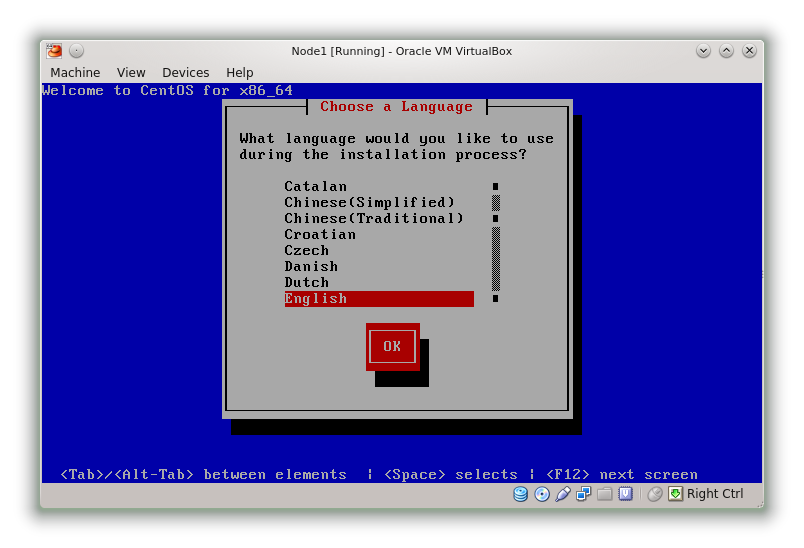
Choose your installation language.
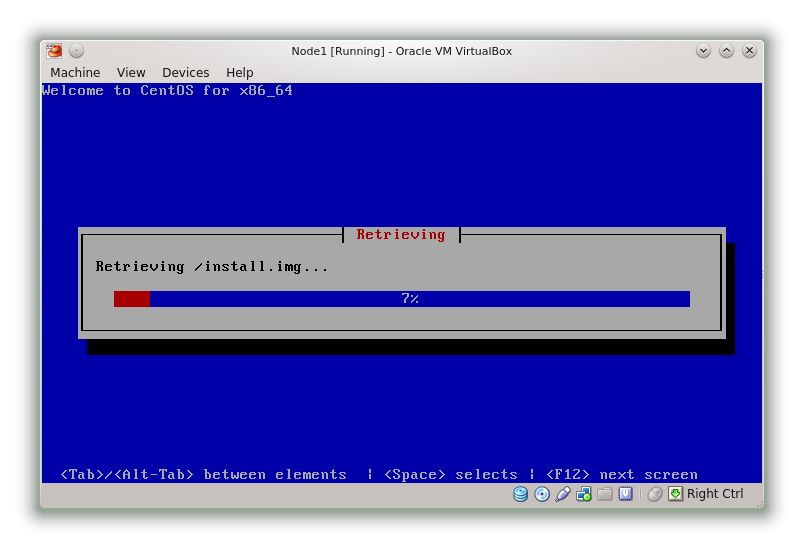
You can skip past the media check screens. Select “URL” in the type of installation screen. Enter the following URL when requested; http://mirrors.sonic.net/centos/6.5/os/x86_64/. Check the CentOS website for newer URLs when appropriate. The installer image will be downloaded.
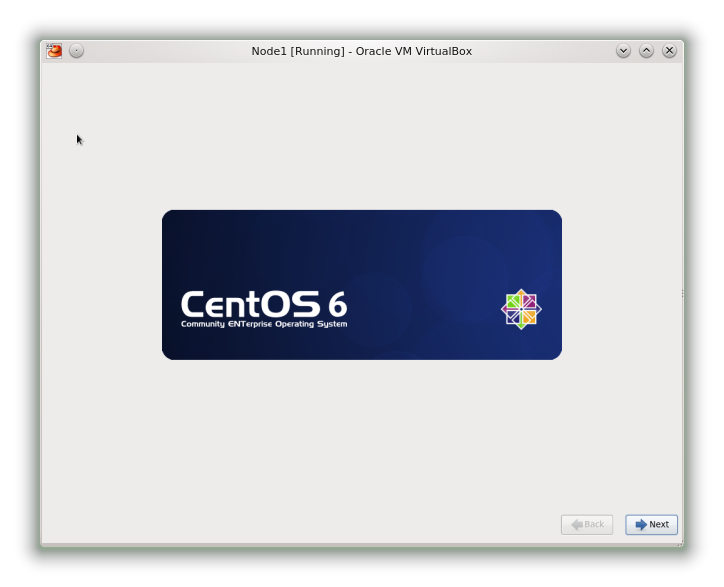
The graphical installer will start. Click ‘Next’
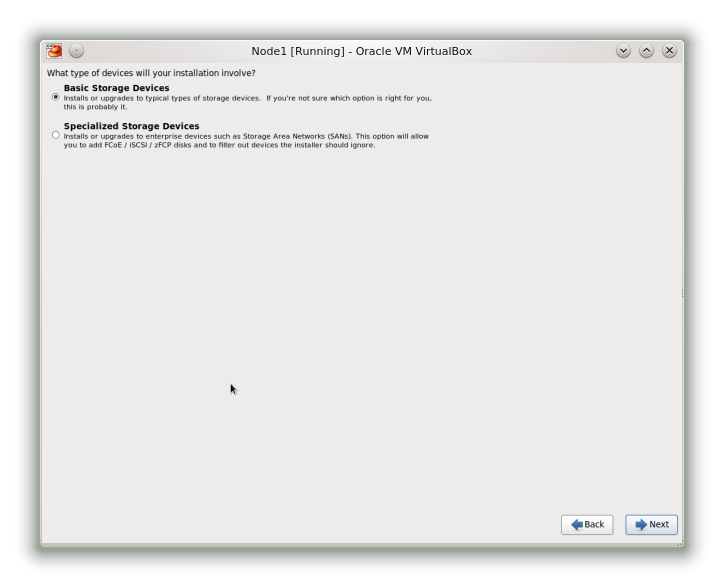
Choose “Basic Storage Devices” (we’ll install and configure this later).
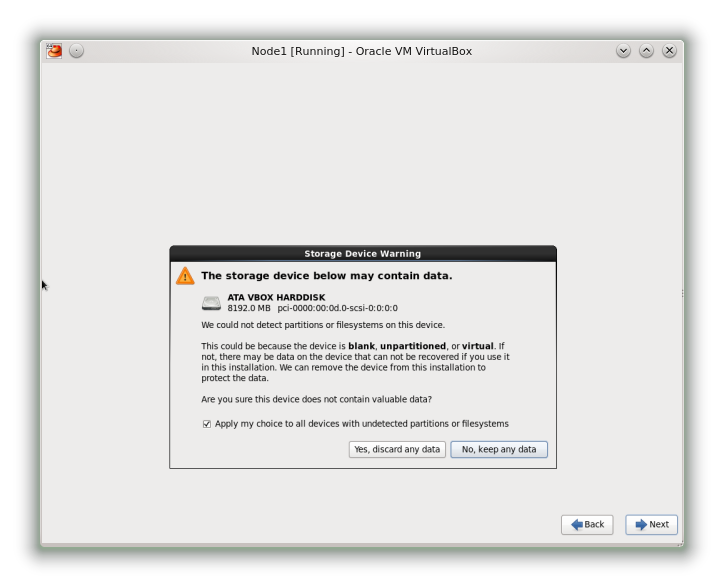
Click “yes, discard any data” as this is a fresh install we won’t lose any data.
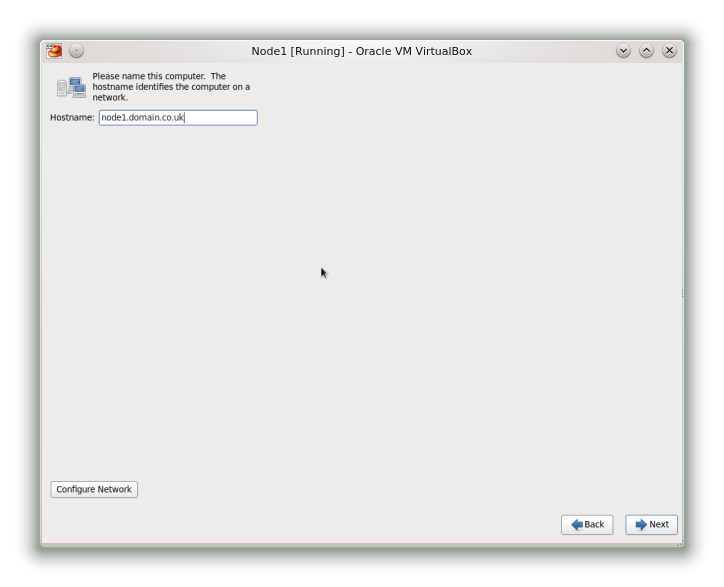
Set the hostname and click ‘Next’.
Set the time zone then click ‘Next’.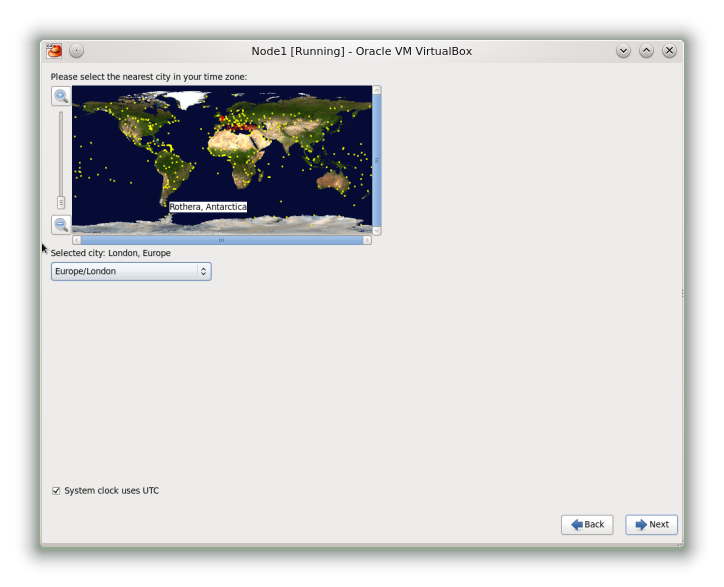
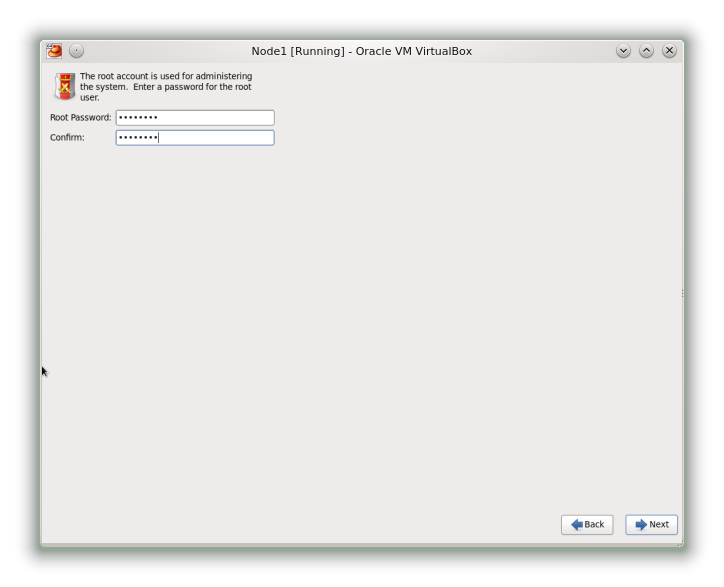
Set a root password then click ‘Next’.
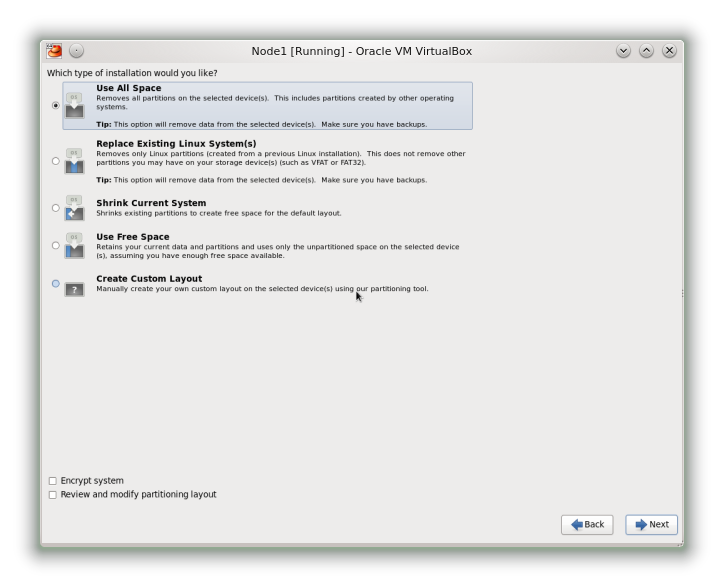
Select the “Use All Space” option and click ‘Next’.
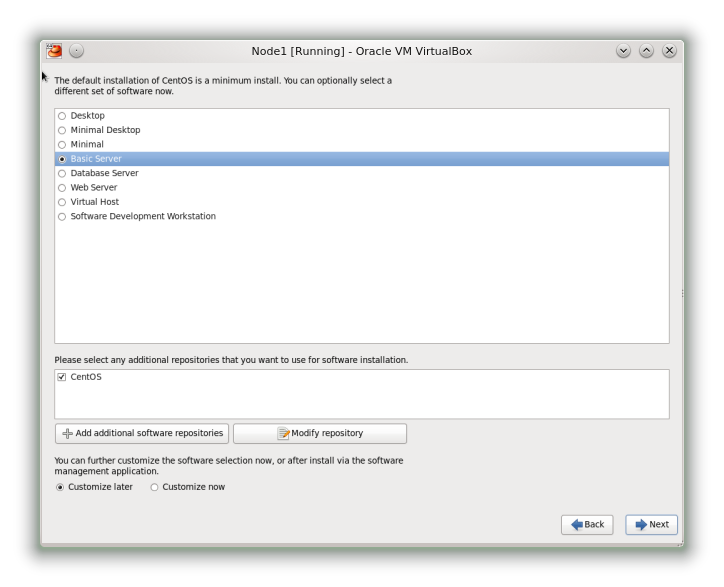
For the installation type select “Basic Server”. We will install and configure additional software later on.
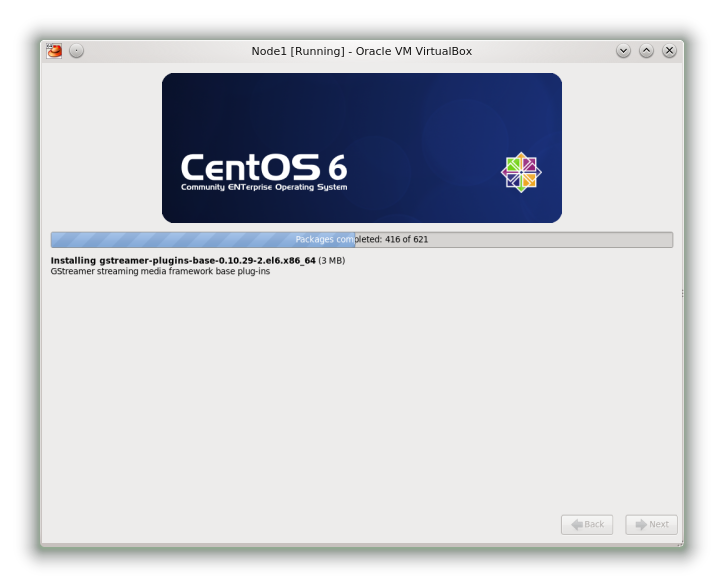
The installation will now begin.
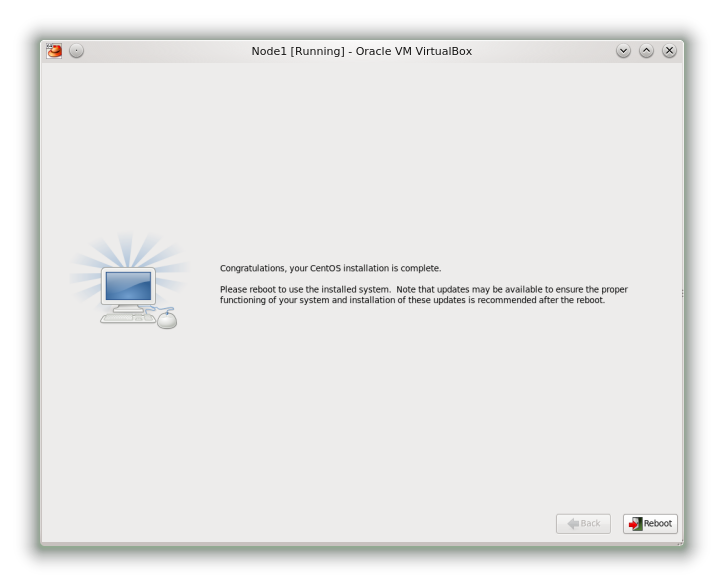
After the installation has completed click ‘reboot’.
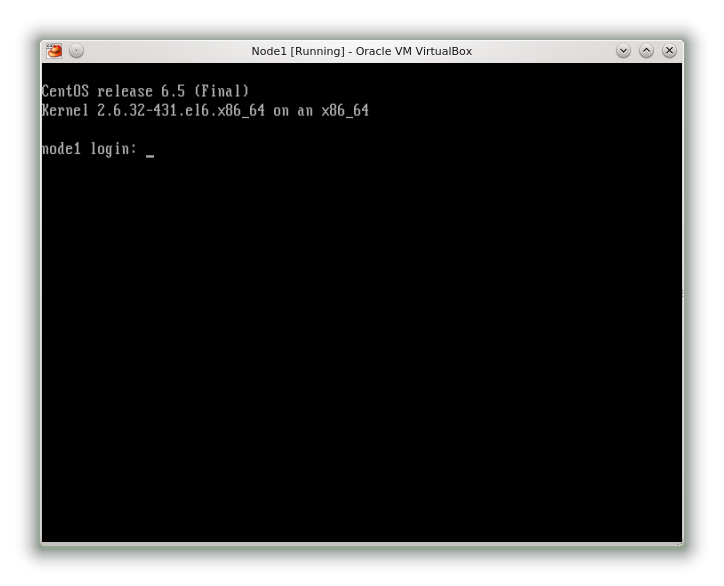
Don’t forget to remove the ISO image from the virtual CD/DVD drive. Hard boot the box and you’ll be able to login…
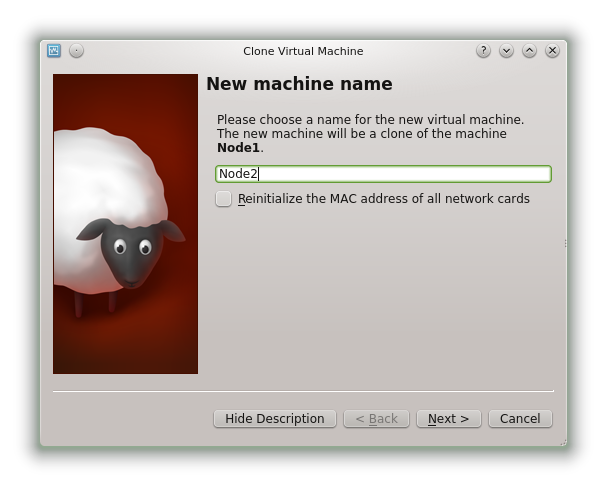
Finally we need to clone this VM to create the second node for the cluster. Shut down the current VM and return to the main VirtualBox gui. With ‘Node1’ selected click Machine > Clone. Change the name of the VM to ‘Node2’ and tick “Reinitialize MAC address of all network cards”. Click ‘Next’
Ensure the “Full Clone” option is selected and then click “Clone”.
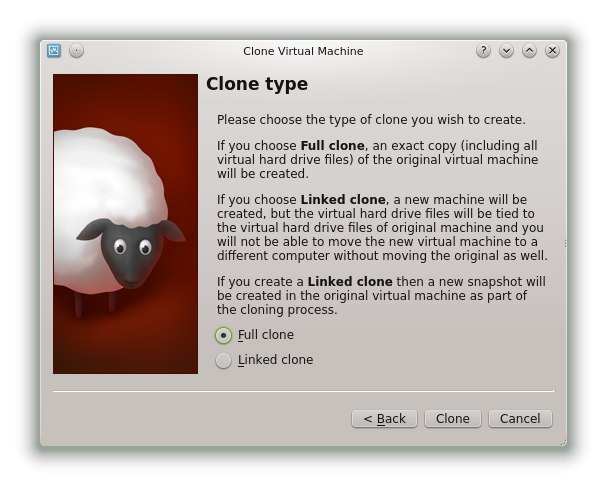
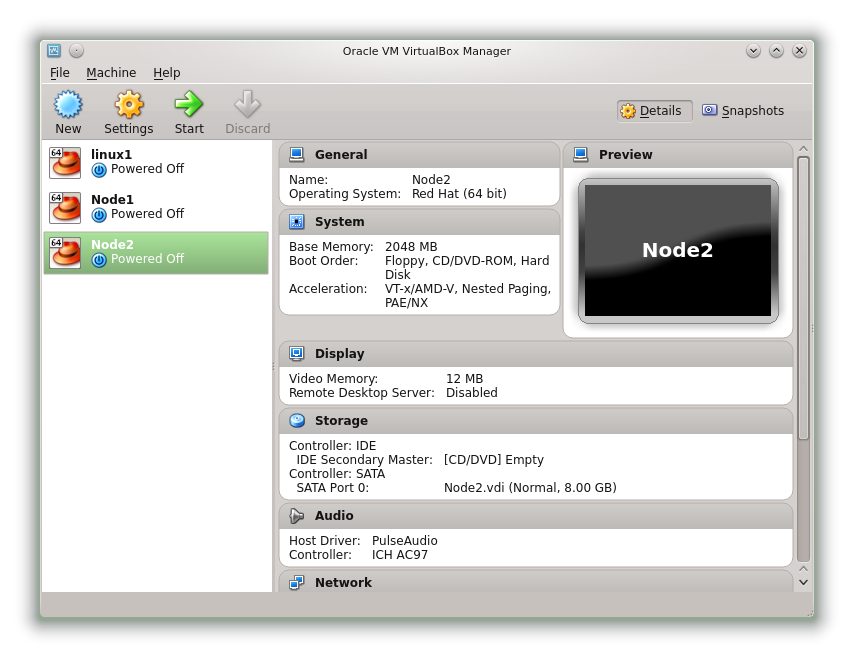
The cloning process will take a minute or two to complete. Node2 will appear in the VirtualBox window when completed.
That completes the creation and installation of the two Linux cluster nodes. We will continue with the setup of the nodes in a future post.
